Though clear now, the skies of Washington State, and indeed most of the Pacific Northwest, have been very smokey almost the entire month of August. The smoke is from wildfires, both in the United States and Canada. I fear, with climate changes, this may be our new “normal” for August, as smokey skies have been prevalent in August the past several years.
As long as the smoke is not too thick, smokey skies can have some advantages to landscape and travel photography. Though I tend not to, some people like the sunsets provided by smokey conditions. I do, however, appreciate that smokey conditions can soften light and can extend golden hour conditions by changing the color of sunlight. On the other hand, they can also dim sunlight so that the light during the actual golden hours is weak.
In my opinion, the disadvantages outweigh any advantages gained. I am fond on blue skies and wide vistas. Smoke can suck the blue out of the sky and obscure views with haze. I also like to use telephoto lenses to pull in distance subjects. Obviously, this does not work so well if there is a lot of smoke.
On my trip to the Palouse last month, the skies were quite smokey. Not smokey enough to totally ruin the trip, but I certainly did not have ideal conditions. The Palouse is known for its blue skies with great clouds. On my last trip, the sky, though clear, was more of a dusky gray. It was also cloud free on except for one day. So much for the wide sky shots I often favor, such as this one I posted on instagram. I found myself following several techniques to minimize the effects of the smoke.
1. Limiting distance in my compositions – instead of including distant hills and vistas in my compositions, I selected relatively close subjects, or chose compositions where the distant background was less important. For example, on my August visit to the Palouse, I did shoot one evening from Steptoe Butte. However, with the smokey haze, I chose one of the lower viewpoint instead of going to the top, and I mostly shot compositions with subjects relatively close to the butte rather than subjects thousands of meters away.


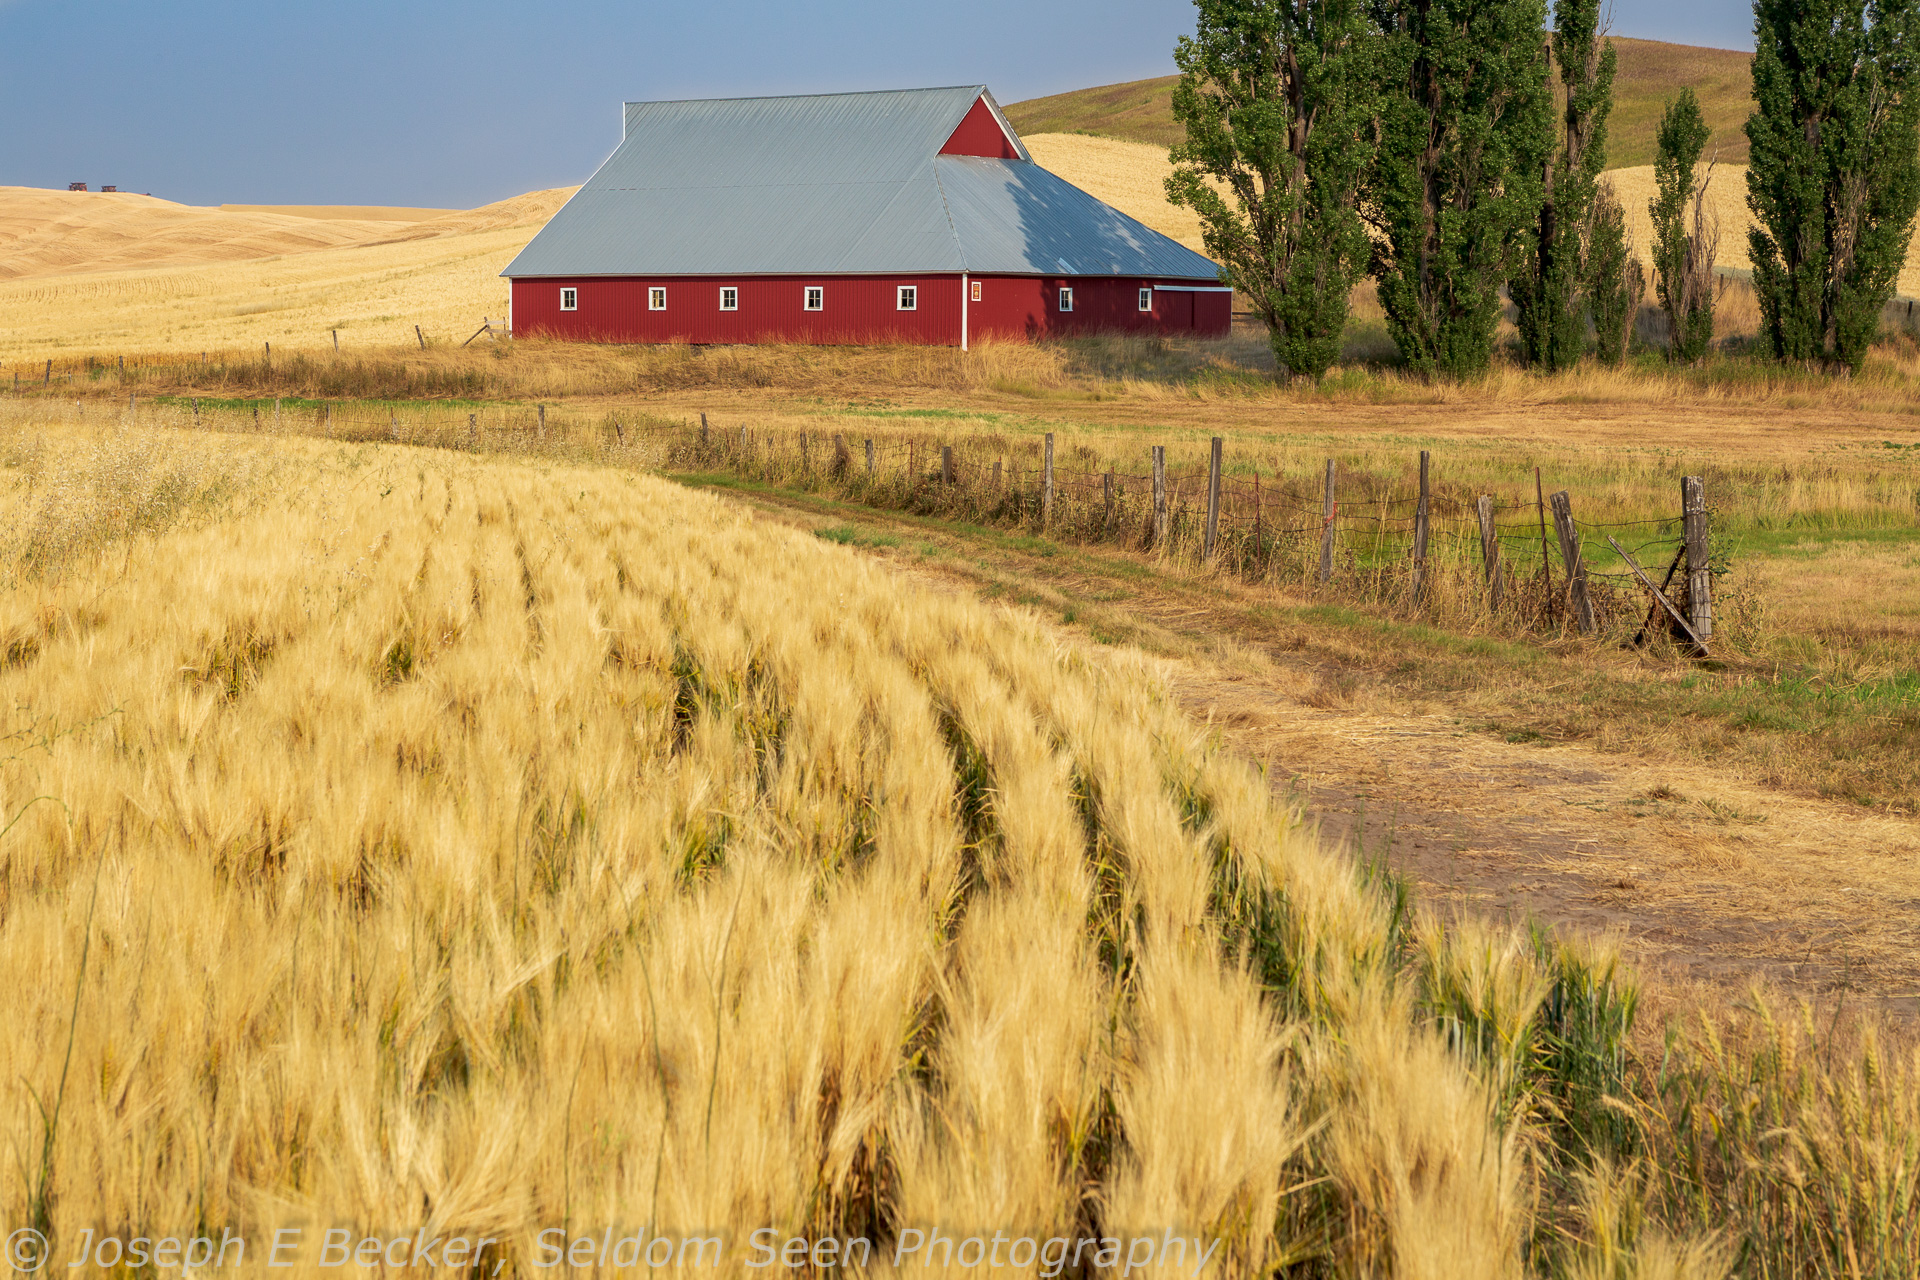
2. Eliminating or limiting the amount of sky in my compositions – with the sky not the blue color one expects, in many cases, I tried to either totally eliminate the sky from my composition or at least limit the amount of sky in the shot.


3. Processing using the Dehaze slider in Lightroom – I often use the dehaze slider in lightroom, and not just to remove haze; I like the microconstrast it adds to images. However, smokey conditions are what the dehaze slider was made for. While processing images from the August Palouse trip in Lightroom, I found myself adding more dehaze than I normally would.

4. Adding blue back into the sky in Lightroom – I typically do not do selective color corrections in Lightroom. Typically I’ll set the color balance for the entire photo and let well enough alone (saving selective color adjustments for Photoshop if I want to do them at all). But with new masking tools for the gradient and brush tools, I found it relatively easy to add some blue back into the sky in Lightroom. Typically, I’d make a fairly tight gradient (or perhaps the brush too) and apply it to the area of the photo containing the sky. Then, using the range mask tool in color mode, I select a wide portion of the sky. This usually masks most of the non-sky areas, but to be sure, I’ll check the Show Selected Mask Overlay checkbox (which uses a red tone to indicate where the gradient is effective). Depending on the image, I may or may not need to do some cleanup of the mask with the eraser brush). To correct the sky, I’ll move the temperature slider toward blue, typically move the exposure slider down about 1/2 to 1/2 a stop, and move the clarity slider down as well. Depending on the image, I may also increase the dehaze slightly. Sounds complicated, but it is fairly easy with a bit of practice. This technique does a nice job on restoring sky color (see the examples below).


Leave a Reply