 Adobe recently updated Lightroom, in the process creating a new version of the program. They renamed the old version Lightroom Classic CC, while the new version took the previous name of the old version: Lightroom CC. Confused yet?
If you have the photography CC subscription service (currently at $10/month), either version is available to download – but you can only have both if you fork out an extra $10 per month. The new Lightroom CC is the wave of the future. It’s main feature is that your Lightroom catalog and all your photos are saved to the Adobe cloud so that you can work on them in Lightroom from anywhere with a internet connection. Sounds like a great idea. The service comes with 1 TB of storage on the cloud. Unfortunately, I would need about 4 times as much space to upload all my photo files. And while I’m sure I could rent extra cloud space, I’m not sure I ready to give Adobe more money yet.
I have my own somewhat convoluted way of working in Lightroom on multiple computers. I export selected portions of my Lightroom catalog with smart previews to the 20GB of cloud storage that comes with the old Lightroom (and the Lightroom Classic), then work with that catalog when away from my main desktop computer. When finished, I import the catalog back into my main catalog. So, for now, I’m sticking with Lightroom Classic.
Plus, Lightroom Classic received a nice upgrade. Reportedly its speed performance has improved, but what I really like is the addition of range masking. Now, any mask made by the adjustment brush, gradient filter, or radial filter can be modified by color or luminance. Simply first create a rough mask using one of the three tools. Then, at the bottom of the Mask dialog, there’s a new setting labeled “Range Mask” with the default setting of off. Change the setting to color, and you get an amount slider and a color picker tool. Only want your blue sky to be selected, use your mouse to select the color picker, move it to the blue sky and click – the other colors are deleted from the rough mask. You can shift and click to select multiple colors and click and drag to define a “box” of colors. It helps to have the Mask Overlay selected to see how your mask changes.
The luminance setting for the Range Mask works similarly, but with brightness instead of color. It does not including a picking tool, but has a “two-handled” slider for defining a brightness range and a smoothness slider. With your mask overlay on, it is easy to play around with these two sliders to see the effect.
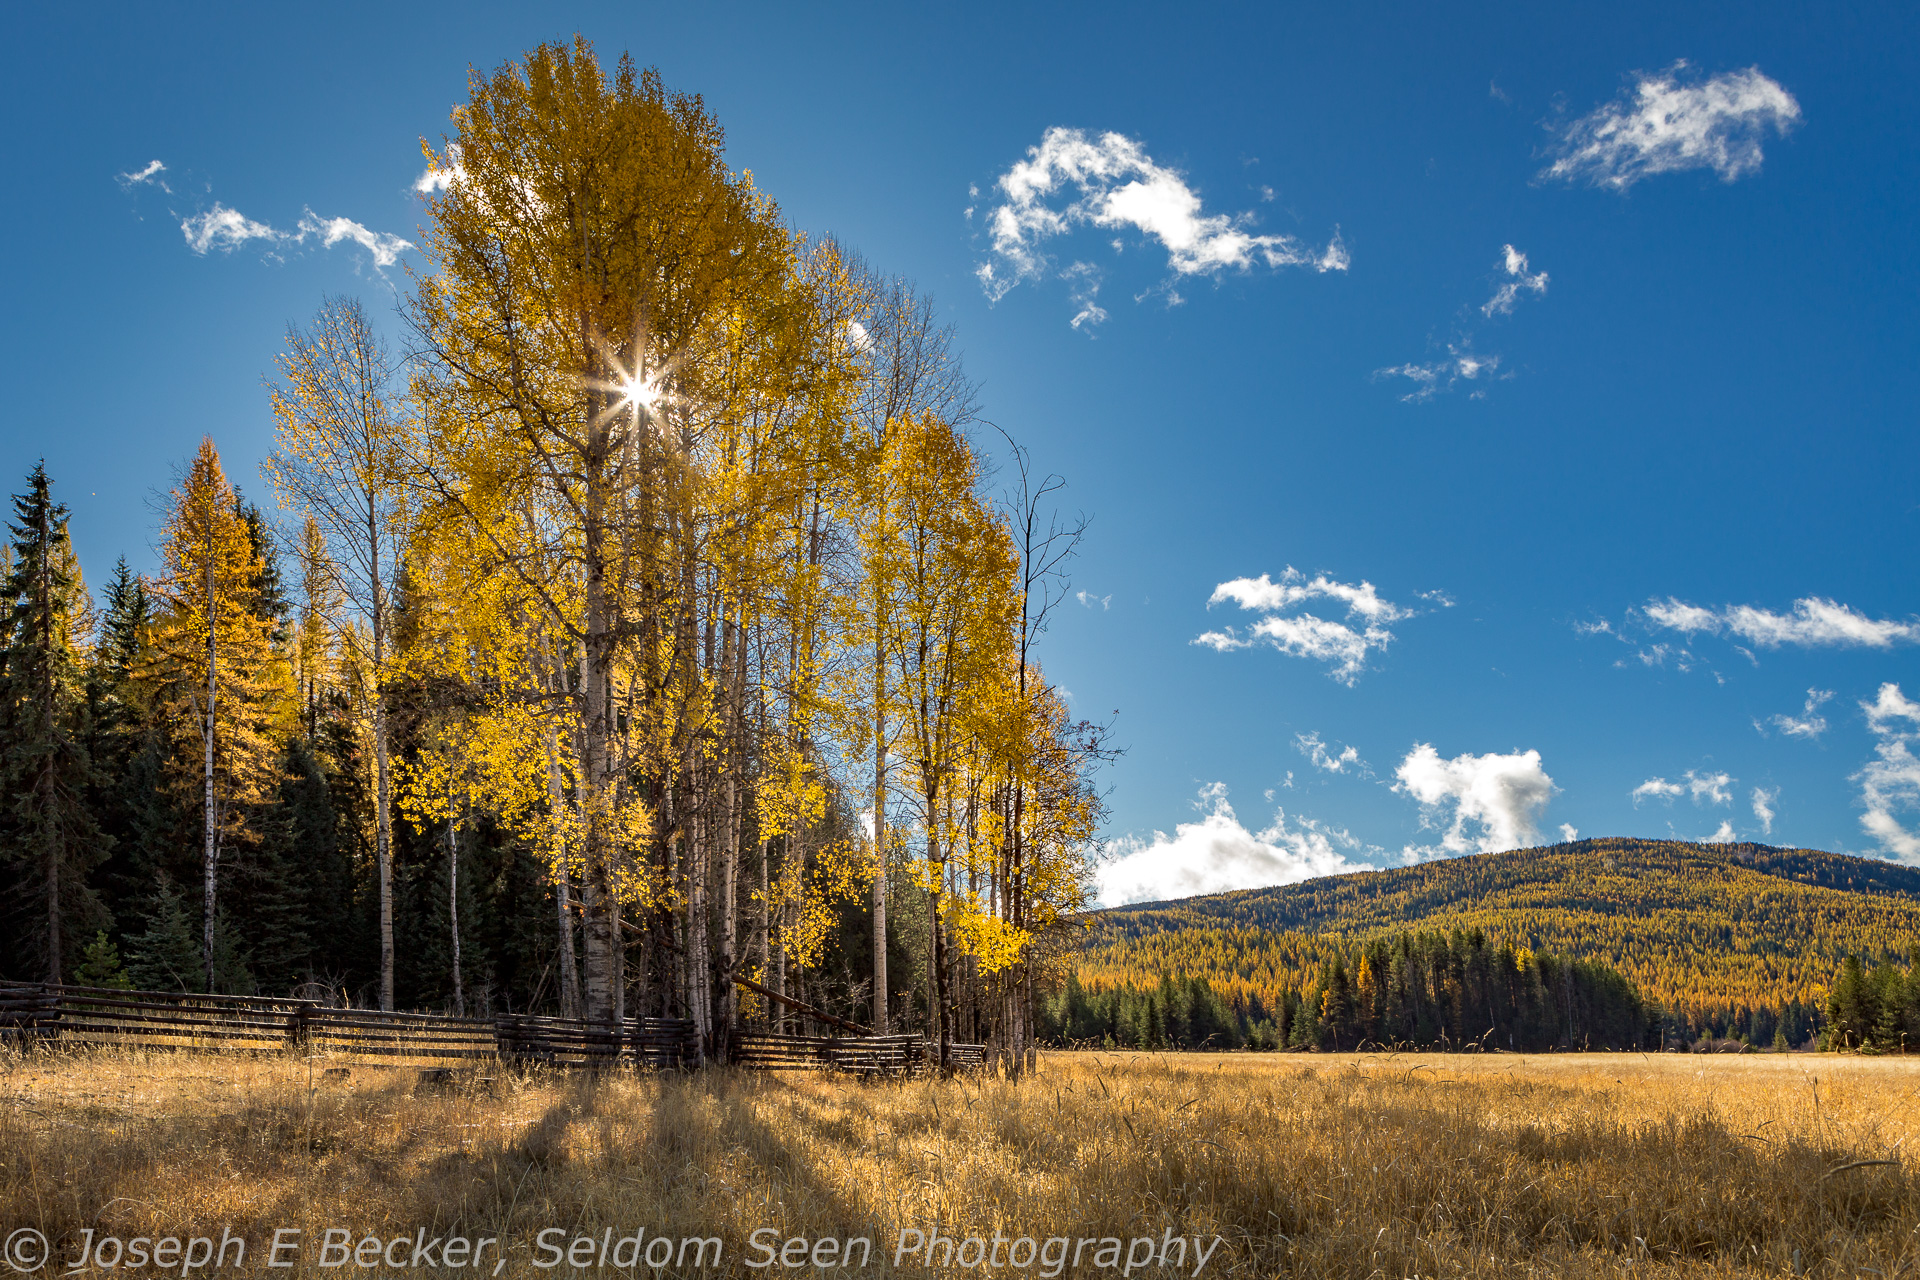
The photo above, that I took in mid-October in northeastern Washington, provides an example of the usefulness of the new range masking. I actually first tried developing the image without the new range masking tools. And while the result was nice, it did have problems. Specifically there was some haloing around the aspen trees, I couldn’t get the brightness of the leaves and tree trunks to what I wanted, and the sky color was not totally natural. I probably could have corrected these issues with Photoshop, but thought I’d try the range masking tools in Lightroom to see if they could help.
Below is a progression of how I developed the image in Lightroom Classic starting with the original image with default Lightroom settings.


Leave a Reply